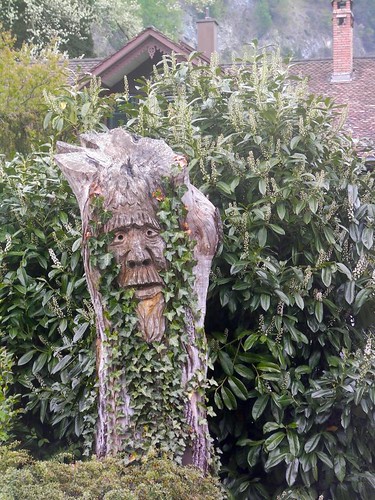
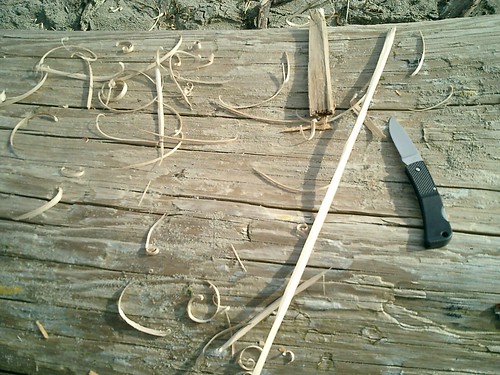
I had a lot of fun putting this woodspirit instructional video together yesterday afternoon and I probably spent about 20-25 minutes shooting all the clips. After reviewing them I was amazed that I seemed to be satisfied and that I'd captured most of what I had wanted to say in the least amount of time possible, so I proceeded to "mesh" them all together into two videos that made some kind of sense. YouTube only allows a 10 minute maximum limit so I had to split them into two videos. After uploading the first one I found a flaw in the part 2 video so I'm currently making a correction and will try to get it uploaded later today.

This woodspirit is a great first carving project for the beginning woodcarver and can be considered as an entry-level into faces. I've been using this simple and basic woodspirit face for many years as a teaching tool for helping the students in my woodshop class learn the elements of carving their own. I've been continiously amazed at how so many of my students actually grasp the concept of carving faces as they have produced some wonderful creations of their own over the years. It just takes a lot of practice and a strong desire to "get there".
After presenting some basic information on the different types of cuts most students can use one of my woodspirit learning sticks and do a fairly good job. If you decide to give it a try don't expect to have a masterpiece on the first few attempts. When I first started carving faces in wood I wasn't satisfied until about my 30th one!
Carving faces takes a lot of time, patience, and practice. Study peoples faces while you are at work, at home, or at play and try to understand how all the parts fit together. As I mentioned in the video first carve the nose and the eyes, then base everything else around that and you will be well on your way.
The woodspirit produced in this video was carved from a 1" X 1" piece of basswood. Perhaps in another video I will demonstrate how I carve a woodspirit with more detail such as raised eyebrows, eyes, teeth, tongues, and a variety of emotion and facial expressions. However it is
very important that you first become comfortable with carving this very basic face then you should challenge yourself to the next level. Learning how to finish the face with stain or paint washes is another skill to achieve that is equal by comparison to learning to carve.

In the video I used the "Carvin' Jack" knife made by Flexcut and I just can't say enough good things about it. I'm also planning to do a full review video on it in the near future so please stay tuned.
As always, never-ever compromise your safety. When carving always wear a glove on the non-carving hand and be sure that it's made from a high quality cut resistant material such as Kevlar. If your project isn't clamped or held secure on a table with a vise then be sure to use a lap board to protect your legs. (A piece of 1/2" ply board will work.) Above all be patient and never-ever force your knife. Learn to be safe and carve your project one thin slice at a time until you achieve the correct depth. If you've never had any carving experience then I would strongly suggest that you seek personal instruction from a professional carver and/or study carving manuals such as the Boy Scout Woodcarving merit badge booklet.
Be safe and have fun!


Hey Dave,
ReplyDeleteI was looking for video o. Carving a stick for wood carving merit badge and found your blog. I'll show the boys your video! Hope you are well!
Rick